It's rare that I post a separate brush review, because I just feel like most of you aren't that interested in these posts. I've done post of my favorite brushes, but whenever I come upon some really nice for the price, I want to share it with you. Today is that occasion. I'm talking about Ecotools, which is a brand the brand that is not talked about a lot, but has great quality brushes. I've recently ordered their Define & Highlight Duo and it deserves a separate review.
Showing posts with label highlight. Show all posts
Festival Makeup (Gold and Blue)
13 Apr 2017
Warmer days are here and so is the festival season. I don't plan on going any, but I am always up for fun and sparkly makeup looks. In this look I've tried to combine all the latest trends that I've been seeing. I actually love how it turned out. Pop of blue eyeliner matches so well with gold details and yellow nail polish that I currently wear.
Eye makeup is very simple and kind of neutral. The big pop of color comes only from the winged blue liner. I started by applying eye primer and setting it with a matte bone colored shadow. I used light warm matte brown in the crease to make it easier to blend out other shades. Then I made it even warmer with a matte yellow toned brown shade. On the lid I applied shimmery yellow gold.
I used a bit of slightly darker matte brown and deepened the very outer corner of the eye to give me some more definition. My eyes can look quite flat otherwise. I used metallic bright blue liner to give this look the needed pop of color. Around lower lash line I applies the same matte browns for subtle definition and then went in with mascara on top lashes. In the inner corners I used yellow golden shimmery highlight.
I used natural looking lashes that gave me a bit more of that length that I don't have and a slight change in volume.
On my face I applied foundation first and then concealed anything that needed to be concealed. I decided to draw on fake freckles, because these are quite popular right now and I love how cute and youthful this makes me look. I have a few of my own, but usually more in the summer. For that I used my usual grey toned eyebrow pencil. I powdered over them, to make them appear more natural and part of the skin.
If you'll be going to festivals, you can't forget about highlight. It's definitely one of the excuse situations when you can go crazy with it. You'll probably sweat it all off anyway. I went for a really glowy yellow gold highlighter. I also used a more champagne version on the highest point of highlight. I highlighted tops of cheeks, above the brow, down the nose and on the upper lip. I also bronzed up my skin with a luminous bronzer and didn't apply any blush. I just wanted the skin to look bronzed and glowy.
For the fun element that made this look so much more enjoyable, I used gold flash tattoos. Stars, to be exact. Apparently star stickers are also very popular right now. As I didn't have any normal stickers, I just went in with flash tattoos. You can always remove them with oil based cleanser. I also used creamy golden shimmery shadow to apply it all over the stars for that fairy dust effect and an additional highlight.
On my lips I used a mix of nude and slightly peachy lip liner for a matte nude look. I also used gold eyeliner and put it on top of the upper lip as a super highlight.
I felt like this shimmery dreamy look needed wavy hair, as it makes it look more romantic. If you'll be rocking similar look to any upcoming festivals, don't forget to highlight your collar bone and shoulders. It brings the look together.
I should do these dreamy looks more often. It's so fun to create and glitter always makes my day. What do you think about this look? Will you be going to any festivals this year?
Products used
Face:
Missha Perfect Cover BB Cream 21
Revlon Colorstay Foundation 150
Bourjois Healthy Mix Foundation 51
MAC Pro Longwear Concealer NC15
Catrice Transparent Mattifying Powder
Physicians Formula Butter Bronzer - Bronzer
Makeup Revolution Vivid Baked Highlighter - Golden Lights
Essence LE Metal Glam Highlighter - 01 Gold Digger
Eyes:
Urban Decay Eyeshadow Primer Potion Original
Zoeva Caramel Melange - Wax Paper
Zoeva Caramel Melange - Universal Delight
Nabla Eyshadow - Caramel
Zoeva Caramel Melange - Almost Burnt
Zoeva Cocoa Blend - Substitute for Love
Makeup Revolution Vivid Baked Highlighter - Golden Lights
Avon Liquid Chrome Eyeliner - Electric Blue
Catrice Lash Dresser Comb Mascara
Duo Adhesive
Cherie Lashes - Extra Lovely
Primark Live Laugh Love Sparkle Glitter Eye Cream Palette - gold
Flash Tattoos - gold stars
Catrice Eye Brow Stylists - 020 Date With Ash-Ton (freckles)
Lips:
Catrice Lip Foundation Pencil 030 Addicted to Cafe Au Lait
Terra Naturi Lipliner - 03 So Nude
Catrice LE Treasure Trove Liquid Liner - C01 Golden Grace
Nail polish:
Avon Nailwear Pro+ - Lemon Sugar
Review: Maybelline Master Contour V-Shape Duo Stick Contour & Highlight (01 Light)
18 Oct 2016
I got Maybelline Master Contour V-Shape Duo Stick Contour & Highlight in 01 Light a long time ago, somewhere in June. I've never owned a cream contour products and I wanted to see if it was easier to use and less obvious.
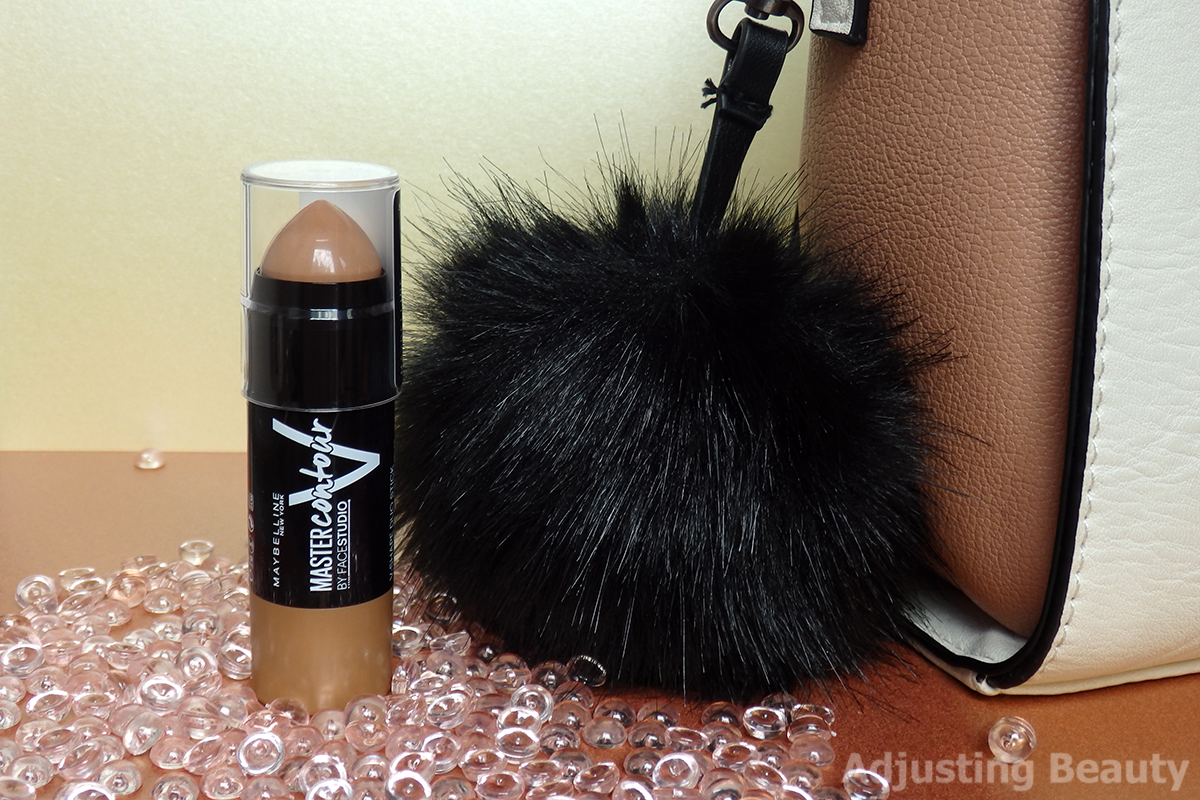
Stick comes in a plastic packaging with transparent lid. My lid already cracked, because the plastic is thin.
In it is 7 grams of product and it costs 7.99€. Because it's a cream product for contour and highlight, you'll no doubt go through this quickly, so I'm not sure if it's worth the price. If this was a blush, which I don't use as much and not all over the face, I would be fine with that.
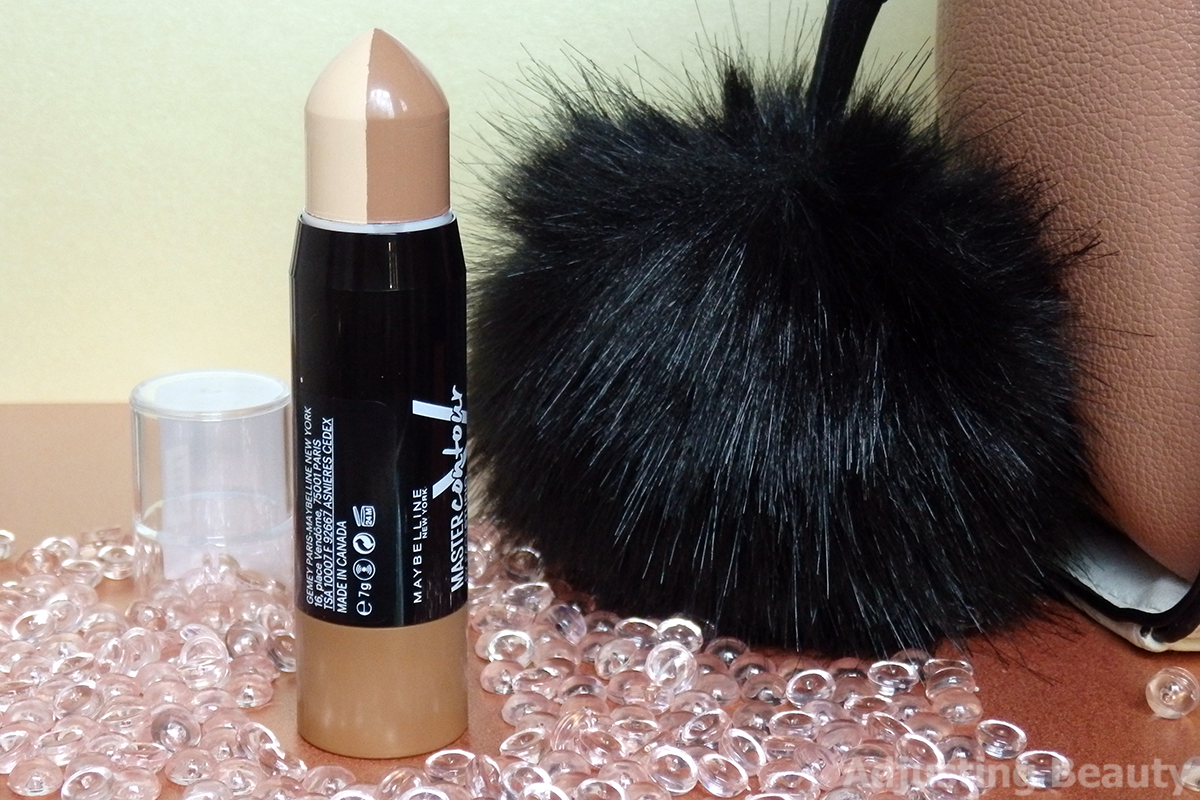
It's a cream product in a stick form. One half is for highlighting and other half is for contouring. Application is easy as long as you use both sides. You just lay it against your cheeks and swipe it on. The problem begins when you use one side more than the other. Then the side that you don't use a lot starts to interfere in the other side. This way you'll also get some highlight on the face when you just want to swipe on contour, like I did. I initially wanted this for the contouring and I didn't use highlighter as much.
Texture is creamy and it applies smoothly. It's not too greasy, but it definitely isn't matte. The finish is a bit shiny and hair sticks to it, which means you'll need to powder it.
I always apply it straight from the bullet and then blend it with brush, makeup sponge or just fingers. For a quick on the go application, you can definitely blend this with fingers. It blends with ease. Makeup sponge tends to "eat" a lot of product and you get a very light wash of product. Brush works great with it, because it blends, but doesn't take too much product off the skin.
I got the lightest shade, 01 Light. Contour color is a lighter brown with grey undertone. There's just enough grey in it to give you a natural shade effect, but won't make you look dead. Highlight is just slightly warm toned beige. It doesn't have any prominent yellow undertone, but it's definitely not cool toned. It's lighter than my skin tone and it does highlight selected areas, although it's really subtle. Contour gives you bigger effect than highlight does.
One layer gives you a very natural effect, almost not visible, if you blend it too much. You can build it up, but it blends so quickly, that you can't make it look too done. This might be a blessing for those that tend to overdue their contour application.
It's in general a very natural effect. I bought it for those almost no makeup days, when I love to wear cream products. This gives me just a light definition. You can also use it as a base for powder products.
It fades through the day. If you set it with powder products, it has a better staying power, but still fades though the day.
I love to use it under my cheekbone, around hair line and on my jaw. It also works good on the nose, but I would apply it with a small blending brush instead of going in straight from the bullet. If you're nose is straight, you can do it straight from the bullet, but mine needs more precision.
The product is creamy enough and blends well, almost too well. It gives you a very natural effect and you can't really build it up to an intense look. It's definitely for those of you that are afraid of contour, because it looks very natural. I love the colors. They are nice for fair skin tones. Contour has just enough grey in it and highlight is also lighter than my skin tone, but it doesn't leave as much impact on the skin.
For those of you who want some more definition, I wouldn't recommend this. My problem is also with the half and half product sides. If you plan to use only one side, don't bother getting this one. There's not a lot of product in it. If you'll be using it every day, you'll go through this quickly. I like the effect for my personal preference, but would probably only buy a contour stick in the future. Since there is so many other brands coming out with these, I wouldn't buy this one again.
Oznake:
contour,
cream,
highlight,
light,
Master Contour,
Maybelline,
Stick
Review: Zoeva 227 Soft Definer Vegan and 105 Luxe Highlight
27 Dec 2014
Hey Beauties!
Sorry for not posting for a while. The holidays and all, it's been non stop. I've finally found some time to do another post and decided to introduce you to Zoeva brushes for those of you who may have not heard about them yet. I already own one of their eye sets, which you can see here. I've had an opportunity to add new ones for a bit lower price and of course I grabbed it.
227 Soft Definer Vegan
To be completely honest, I thought I was ordering their 227 Soft Definer. Somehow I didn't see the V for vegan at the end of the product name and on the photo it was their regular soft definer. Aside from that, I really like it now. It's definitely not as fluffy and wide as Soft Definer. It's a bit more structured and thinner in the size.
On Zoeva side: 7.80€, on Mojadrogerija: 10.22€
You can see that it looks pretty wide from the front view, but from the side it's pretty slim. The bristles are very soft and bleached white at the end. This is good, so you can see what shades you have on the brush and when it's actually cleaned :). I am a firm believer in the theory that white bristles automatically make softer brushes - don't ask me why, but this one is just as soft as all the other Zoeva eye brushes.
Because of the shape it allows you to use it in the crease and still get some definition in there. Of course it will blend the eye shadow and not make a very apparent line, but it just gives a bit of definition. It blends eye shadow nicely, but if you want something that's good for really blending the eye shadows, go for the regular Soft Definer. Because of it's flat shape is also really good for putting on the eye shadow all over the lid. Like a regular flat eyelid brush.
105 Luxe Highlight
Luxe Highlight brush was the next Zoeva brush on my wish list. I wanted it, because I'm obviously obsessed with highlighter and having a brush especially for it, would be nice. The bristles are extremely soft and they give this nicely tapered shape. The brush picks up the product only on the tip of the bristles and then blends the product into the skin with all the rest of the bristles.
On Zoeva side: 12.80€, on Mojadrogerija: 17.40€
It works absolutely great with highlighter. The brush is just big enough to make that beautiful sheen on tops of the cheeks as well as on the nose bridge. I also find this brush to be amazing for contouring. Especially for contouring under the cheek bone. Tapered shape fits perfectly under the cheek bone and can create a bit more defined contour, but still nothing that will look like a line.
I won't talk much about the appearance, because the brushes are really well made. Classic black wood and silver aluminum.
I have to say I'm very disappointed about Zoeva changing their prices. I've purchased their eye set when they were on the start of their career and their brushes were cheaper then. My set cost then 31.40€ and now it costs 38€. And I am pretty sure their single brushes were a lot cheaper, as well. Since then, the brushes gained huge popularity among beauty blogger and in the beauty world. I guess their ego gained as well and they decided to price them a bit higher, which is just bullshit in my opinion. I don't think they changed the brushes in any way, but they did change the prices. If you don't improve the product with higher priced ingredients, you don't have the right to price the product at a higher price. Simple as that. Things like that really make me angry, because it means the company only thinks about the profit and gives no value on satisfying the costumer. Enough said. We all now, we overpay the products waaay to much. But when the companies price a product one price at the beginning and then raise the price in time, it's just stupid.
Still...those brushes are really good quality and if you have a chance, buy some. Probably on sale! :) I know I'll add some more in the future.
For all Slovenian readers, Zoeva brushes are now available on Mojadrogerija.si.
Oznake:
eye,
highlight,
makeup,
makeup brushes,
Zoeva
Subscribe to:
Posts (Atom)