Adding color to basic eye makeup (for different eye colors)

Hey Beauties!

As promised, today's post is going to be how to update a basic natural eye makeup, which I showed you here. Again, I'm not a makeup artist, this is just what I've learned through several other media. I hope this will at least give you some ideas as to which eye shadow shades to try, if you like to stick to your basics or are afraid of a little color.


First thing to know, when choosing your eye shadow color is what is your eye color. We all know it's not always as simple as brown, blue or green. You can have green eyes, which also have brown circle around. Those are usually called hazel eyes. Your blue eyes can be very clear light blue eyes, or they can look almost grey. You may have light brown eye or very dark almost black eyes.

Taking all this into consideration...now that you know which color your eyes are, you should know the basic of color theories - the color wheel. I won't go into detail, because this is not my intention. Mostly, when adding a colored eye shadow, you want the color of the eye shadow to bring out the color of your eyes. To do that, you need to choose the so-called complementary or opposite colors. Those colors are find in the color wheel on the opposite sides.


Blue eyes

For example, if your eyes are blue, your complementary color is orange. Which means the eye shadow that has an orange base to it, would bring out your eyes the best.

Starting with the basic makeup that I showed you in my previous post. Then you can darken the outer corner of the eye. I used a warm toned brown, that has some gold shimmer in it to compliment the second shade.


Then I added peachy copper shade on the center of the lid. Any peach or coppery shades are orange based and will really compliment the blue eyes. You don't need to use bold orange, just some shade that is orange based. I also darkened around the lower lash line with the brown and added complimentary gold shade in the inner corner.


My eye makeup is not my eye makeup without the winged liner. You can just darken the lash line or do a regular liner without the wing. At the last step I added mascara.


And here it is how it would look like with the blue eyes. I played a little with Photoshop :).


I also decided to compliment the rest of the makeup. That is why I chose peach toned lipstick and blush, but of course this is not necessary at all. I just wanted to point out the orange shade for the blue eyes.


Other shades:
I find that basic smokey eye (black grey) looks especially amazing with blue eyes. The other shades that also work really nice with blue eyes are red and yellow based eye shadows. Gold for example.

Green eyes

Moving on to green eyes, the complimentary color is red. Which means red based eye shadow shades should look amazing with green eyes.

As with the previous eye makeup, I started with the basic natural makeup. Then I added red based brown shade in the outer corner to darken it up a bit.


I did the same around the lower lash line. Then I added sort of cranberry eye shadow shade on the center of the lid. Of course I also added winged liner, for a bit more definition.


I finished it all with volumizing mascara.


Here is again, how it should look like with the actually green eyes. Making them pop a bit more.


Intentionally I also added red lipstick and brick red blush. Of course it is not necessary to do that. The rest of the makeup can be less colorful or more, it's up to you.


Other shades:
One of the shade that looks also amazing on the green eyes is violet or purple. Orange based eye shadow also really suit green eyes.

Brown eyes

When it comes to brown eye color, anything goes. Or so says the theory. Because it's somewhat a neutral color and the one that can't be find in the color wheel, everything should look nice. If you have more hazel eyes with green tones, you can go with red based makeup. If you have yellow tones in it you can bring them out with violet eye shadow. I decided to show you a more subtle color and that is gold, which I think looks good on pretty much any eye color, but especially on darker colored eyes.

As you can see I darkened the outer corner with a warm brown shade. I also put it around the lower lash line.


Then I added gold shade on the center of the lid and of course finished with winged eyeliner and mascara.


Other shades:
If your brown eyes have yellow tones to it, they look amazing with purple eye shadow. The shade that also looks amazing with brown eyes is blue. Blue looks especially good on cooler skin tones and darker (black) hair.

If you figured the system, you should realize by now, which shades are complimentary to which eye color. For example complementary color for blue eyes is the opposite color in the color wheel - orange. So orange based eye shadow looks amazing with blue eyes. The other shades that also go really well with blue eyes are the two shades next to the orange - which are yellow and red. So, yellow and red based eye shadow should also look amazing on you.


If your color is brown, just look for those little nuances in the eye color. If you look at my eye color, you can definitely see yellow color to it. That is why gold shades merge with my eye color, which also means that gold shade looks very natural and part-of-me shade. Purple further brings out my eyes. Blue would do the same, but the problem being it's mostly cool toned and it clashes with my yellow skin undertone.

I hope I could help you out with the theory that I've learned from other makeup artists and makeup enthusiasts. This is only theory and you can apply it to your makeup if you wish to, or you can totally overlook it. It's makeup and it should be fun. So you can wear whatever you want to. :)

Btw I realized that my dark brown eyes still look the best on my face. What do you think?

Review: Essence Effect nail polish Twinkling Bling Bling (21 Icy Fairy)

Hey Beauties!

Slovenian readers should have seen this top coat all over the blogs, because we probably all bought or got it. I saw it first on Essence Instagram and then on Mateja's Beauty Blog Instagram and decided it really looks like a galaxy. Of course I had to get it.


The packaging is standard glass bottle with plastic top. The brush is also a very standard regular brush. There's 10 ml of product in it and it costs 1.49€. The name of the top coat is 21 Icy Fairy. Which is wrong in my opinion. It should be called galaxy :).


In the nail polish are three different sizes of hexagon shapes, ranging from big to medium to really small. It also seems to have in some holographic or two colored shimmer, which sometimes looks blue and sometimes purple.


I used the top coat over a black nail polish, as it was shown on Essence Instagram in it looks absolutely amazing. It gives you an instant illusion of galaxy. Different sizes of hexagons act as stars int he galaxy and the shimmer makes it shine as a galaxy would - purplish blue. It looks absolutely mesmerizing and it's probably one of the easiest way to create galaxy nails, ever.


If you haven't bought this one, I think you should definitely try it. Especially if you like galaxy nails. For 1.49€, it's a a complete bargain.

How to: Basic natural makeup (tutorial)

Hey Beauties!

I had a request from one of my blog readers to do a tutorial for a natural eye makeup. I decided it would be kind of nice to make a tutorial for a natural makeup look that anyone could adapt to their skin tone, eye color and such. I am not a makeup artist, but I think I have managed to see a lot of makeup looks and self taught myself what should look good on people. Some of the things you've probably already heard a lot and I don't think I'll write anything new, but maybe I can help someone who doesn't have that much experience with makeup.


Nice face base

As far as the face goes, there is no need for foundation. If you have an even skin tone with no or very little imperfections, there is no need to put on foundation. Why cover the natural beauty? As for all of us, who have some hyper pigmentation, darker spots and little bumps or pimples here and there, we should definitely put on something with a bit of color. You can choose from a lot of different products like BB creams, CC creams, tinted moisturizers, foundations, mineral foundations... It all depends on what you're looking for.

BB creams, CC creams and all the other letters creams are great for those who want all in one. A moisturizers that evens out the tone of your skin, corrects and gives you a bit of color.

Tinted moisturizers are in my opinion the same thing as all those creams. It's basically a moisturizer that has a bit of color in it.

Foundations can differ in coverage. Creams are naturally heavier and have heavier coverage. Liquid foundations can range from really light coverage to full coverage. 

Mineral foundations are powders, which you buff into your skin. They give the most natural finish. The coverage can be build up. It's a great alternative for anyone with sensitive skin or those who like natural products and natural finish on the skin.


As for the shade that would suit you..If you're not the best at deciding what tone you have, it's better to let the staff from the counter help you.


When we have a fairly even skin tone, it's time to conceal any imperfections. You can use concealer or corrector. 

Concealer, as the names suggests, conceals any imperfections. It's supposed to be the same shade as your foundation. 

Corrector comes in many different shades. You can have rose, yellow, green and every color is supposed to cancel out the tones in your skin. For example green corrector can neutralize any redness on the skin. I would personally avoid these colored correctors, because if you don't know how to use them properly it can look weird. Of course you can also get some correctors that look like concealer shades.

There are also brightening concealers, which can bright up certain areas like under eye area. They usually have some light reflecting particles in the product.

I love to use concealer on the under eye area. Make sure it's a moisturizing one if you have dry skin or start to see little wrinkles. As for covering up pimples or red patches, I use a heavier cream concealer. Cream concealers are usually higher coverage than liquid ones. But it depends, it's not always like that.


If you have oily or combination skin, you can then use powder to powder either entire face (if you have very oily skin) or just concentrate on the areas, where you get oily (for me is mostly my T-zone). Powders can have different shades. You can also get some in a transparent shade, which usually look white and should adapt to any skin color. They can be pressed or in a loose form. It all depends on what you prefer. They can prolong the wear of your foundation and of course make your skin look more matte.

Eye makeup

For a basic natural eye makeup, I would still recommend eye primer. Eye primer neutralizes your canvas. If you have naturally more pigmented lids, this will create an even base for when you'll be putting on eyeshadow. Primer also prevents eyeshadow from creasing and make eyeshadows more intense. They can come in liquid or cream forms.


Then I would choose a natural brown or taupe shade that is about two to three shades darker then your skin tone. Apply it all over the lid. The mistake that most people do, especially if you have hooded eyelids is that the eyeshadow goes only up to the crease. If you extend the eyeshadow a bit over the crease, it can actually be seen while you have closed eyes. Otherwise, the eyeshadow is not even seen. That doesn't mean putting it all up to the brows - except if you are model on a photoshoot :). You can use the same shade around the lower lash line to define it a bit more.


For those who need more definition, you can use a bit darker taupe shade in the crease. It's for those who want to define the crease or who have very flat eyes. Take it on a fluffy brush and put it in where your eye start to make a crease. Then just drag it from left to right and that's it.


If you have sparser or thinner eyelashes, you can use colored pencil and smudge it around the upper lash line. This will make your eyelashes appear thicker and fuller. Just apply it as near to the lashes as possible and use a cotton pad to smudge it. If you have lighter eye color, you can use browns or dark greys to look more natural. For anyone with darker eyes you can use black. 


Curling the lashes is very important step, if you don't have natural curled lashes. It opens up the eyes and makes you lashes look a lot longer then they really are. I know a lot of people are "afraid" of the eyelash curlers, but once you master it, you will always use it.


Mascara is a must have for anyone who doesn't have naturally curled, full and long lashes. There are tons of mascaras on the market and you can choose if you want your lashes to look longer, voluminous, thicker, blacker, separated...you name it. They have it all. When you use new mascara, wipe most of it off onto a tissue and then apply it on the lashes. Because if you have too much of mascara on the wand, you can end up with lashes that stick together and don't want to separate. Plus there will be more fall out later in the day. 


Then you can use a shade that is three shades lighter than your skin tone and put it in the inner corners of the eye. This will instantly make them look a bit brighter and less tired looking.


Brows

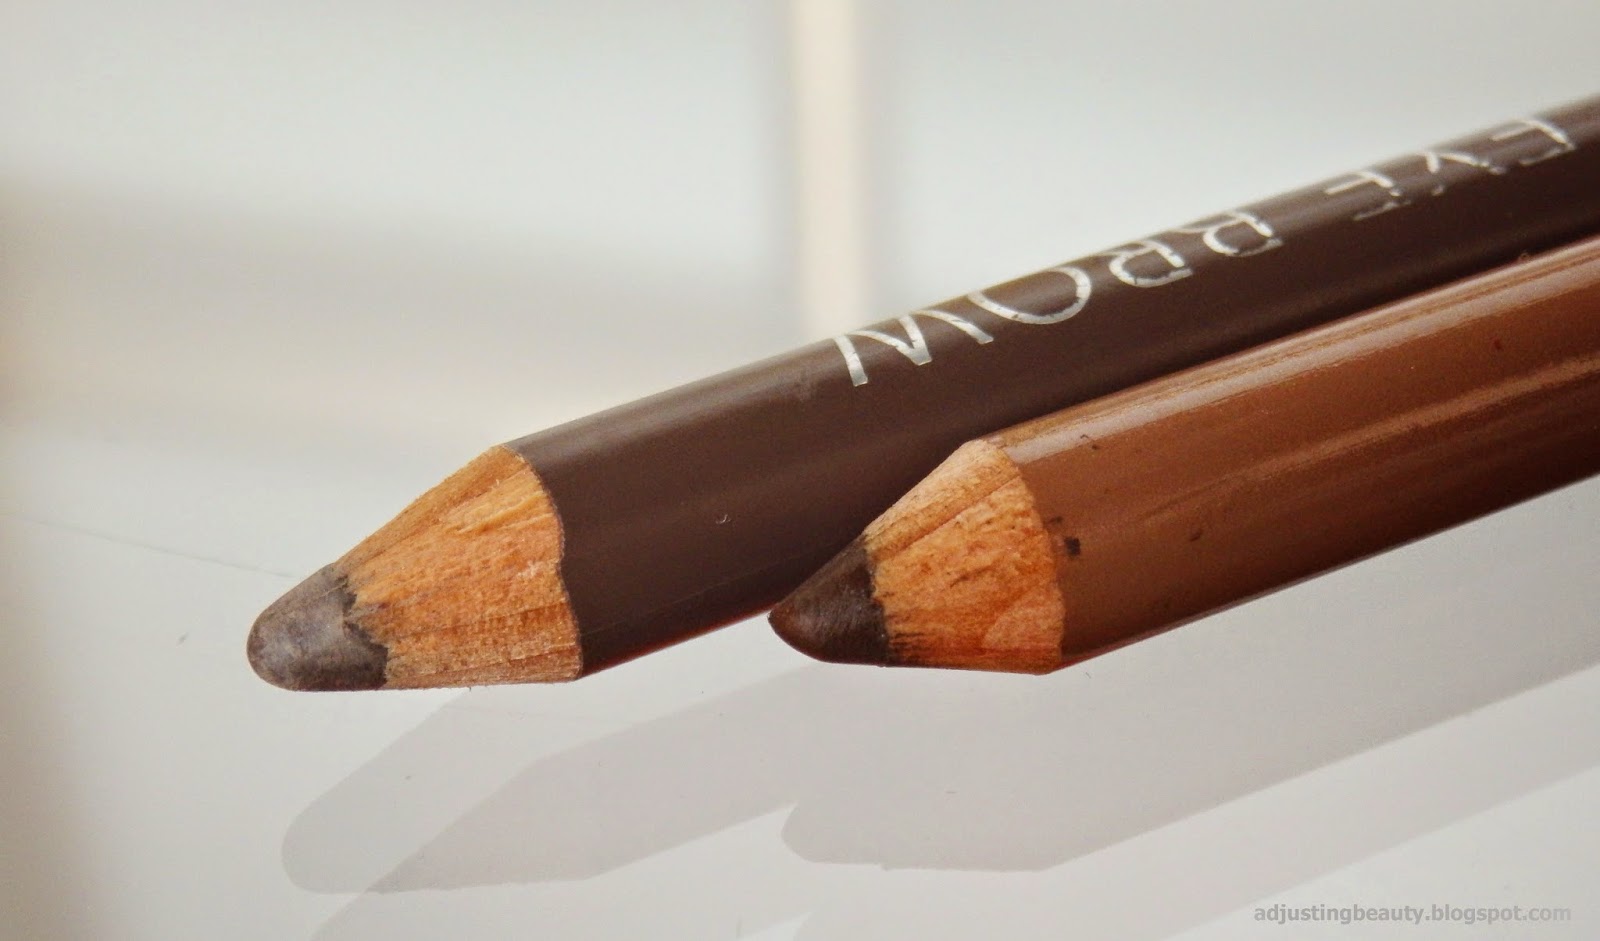
If you have sparse lashes it is always nice to fill them in. You can use eyeshadow to fill them in (this will give you a very natural look), or eyebrow gels (which are very pigmented and can look really bold), or eyebrow pencils (which are in between of bold and light, depending on how you use it). You can also use eyebrow mascaras. They come in different shades, but you can also get them in transparent shade. In my opinion they look better on people, who already have pretty thick brows. Because if you have naturally thin and sparse brows, the mascara will only stick to your brows that you already have, thus making them stick together and look like you have less brows than you actually do. Powders are great for a very natural look, while pencils can create a pretty thick brows. I prefer to use pencil.

Make sure to get the shade that looks most like your brows. If they look a bit grey, get a brown that has a grey tone to it. If you have lighter brows, use a light brown. If you have dark brows, never use black shade, instead use a dark brown shade. 


Blush

Blush is an amazing product that instantly gives some color to your face and makes you look fresh. There are so many blushes available, that you can definitely find the shade that suits you best. You can have cream, liquid or powder blushes. Creams and liquid are great for achieving very natural looks, like you've been pinched or are blushing from within. Powders can look a bit bolder and more unnatural. Creams and liquids are also very easy to apply, but sometimes harder to blend, if you don't know what you're doing. Powder blushes need a brush to apply it and can look very sheer or very bold. The fluffier and softer the brush, the lighter the application. 


Some say to apply it on the apples of the cheeks, some to apply it further up back to the temples. It all depends on which look you're going for. If you apply it on the cheeks, you'll get a very doll like, romantic, youthful effect. If you decide to apply it along the cheekbone up to the temples, you're already contouring the face a little, pulling it up. I do something in the middle. A bit on the apples of the cheeks, but dragging it up to the sides of the face. 

If your skin tone is more on the yellow side (you're warm toned), then you would look best in peach, coral, reds, basically anything that has warm tone to it. If you're into shimmery shades, golden shimmer is your friend.


If your skin tone is more on the pink side (you're cool toned), then you would look best in anything pink and purple, basically anything that has cool tone to it. Silver shimmer based blushes would look best on you.


If you're skin tone is neutral, you can use either.

If you have a pale skin tone, make sure to use shades that look lighter and if you have medium to dark skin tone, use more pigmented blushes in darker shades. 

Lips

With natural makeup look, you need the my-lips-but-better shade of lip product. It means that you're looking for a lip product, which is about the same shade as your lips. It might be one to two shades darker. Depending on your skin tone, those shades can be mauve, pink, coral or brown. My lips are naturally very pale and have a pink brown tone to it. 


For the most natural effect you can use lipstick and pad it on with your fingers. Lip stains also look very natural and can last longer on the lips, because they actually stain your lips. Lip glosses are usually shiny, which means they won't look as natural on the lips. You can also use tinted lip balms if you want it too look very natural any moisturize at the same time. 


I hope this was helpful to some of you and I think I'll do another post with how to add color to your basic eye makeup for different eye colors and how to add a bit of contouring and highlighting to the face. 

Review: Real Techniques Sam's Picks Collection

Hey Beauties!

Feelunique had a discount on this brush set from Real Techniques and because you never have enough brushes, I decided to buy it. Let's just say, I expected a lot more, because of how popular those brushes seem to be among others.


The set of brushes comes in a plastic box. Each brush has its own place in the foam that's in the bottom of the box. The set includes 6 brushes: multi-task brush, buffing brush, essential crease brush, setting brush, pointed foundation brush and fine liner brush. 

I got it for 27.29€ on Feelunique (it was on sale, otherwise it costs 38.99€).


The handles are plastic, different colors and the hair is synthetic. 


Multi-task brush

I guess this is one of those brushes that can be used for a lot of things. For powder, blush or bronzer. It's not as big as their blush brush, which means it can really be used for everything. It's soft, but I expected it to be super soft. I find that it's also pretty dense, which means a high coverage application. 


Buffing brush

This brush is supposed to be used to buff in the foundation. I guess you can also use it for any cream products. I have tried to use it with my foundations. That being said, I've tried it with more liquid, with more heavier foundations, to see if there's a difference. I find the hair to be too rough. It's pretty dense. My problem with this one, beside not being soft enough, is that whenever I apply foundation with it, it leaves strokes all over my face. It just doesn't seem to blend the foundation in the skin. It looks like it's just dragging the foundation all over the skin. This is probably my least favorite brush from this set.

I actually have a fake, inspired by Real Techniques or what ever brush from Ebay, which is a lot softer than this original one. Go figure.


Pointed foundation brush

I might be subjective with this one, because I really hate those flat foundation brushes. I see no use with them, except when using it for Halloween makeup?! Let's just say I don't like them. This one is very small for foundation brush. I would dare to say it's better to be used for concealer. The pointed cut is great for reaching smaller corners of the face. Again, very dense and not really soft brush. I like to apply concealer with it, but then I use my fingers to blend it in. 


Setting brush

I wanted this set mostly because of this brush. It's one of those brushes that can be used for a lot of products. I find it to be great for setting under the eye area or around the nose. I also love to use it as a highlighter brush, although it might be a bit too dense for this. It could even be used as a contour brush, if you want a really small and harsh line. Maybe even to blend eye shadow. The hair is pretty soft and I like the shape in which it's cut. It makes it really easy to blend products, while your applying them with this brush.


Essential crease brush

On the packaging it says, that this one is set exclusive. It's a very small brush, that is meant to be used in the crease of the eye. The hair is pretty soft and fluffy. If you use it in the crease, you can create a pretty intense crease, because of how small it is. In comparison to Zoeva petite crease brush, this one  is a lot smaller, which means harsher line. I also love to use it around the lower lash line. It's just small enough to fit in there.


Fine liner brush

My opinion with liner brushes is always the same - they are too thick, which means you can not get extremely thin liner. The hair is of course a bit thicker and harsher. I find that less of it would be better. Maybe even a bit shorter, for a really good precision. Don't get me wrong, you can still get a pretty thin line, but I just like to have even thinner line. I can always make it thicker, but I can't make it thinner if the brush is not thin enough.


I guess those brushes dissapointed me. Before I only had their blush brush and am still head over heels with this one. I expected all the brushes to be as soft as the blush brush, but they were far from it. I really like setting brush and essential crease brush. Multi-task brush is also good, but nothing spectacular. As for all the others, I probably wouldn't purchase them ever again, because I wouldn't miss them.

I'm thinking of investing in some sets from Eco Tools, which have not let me down. I would love to get my hands on some of the Zoeva brushes, but I can not seem to bring myself to pay for their postage costs. If you recommend any sets or brushes that are really soft, let me know in the comments below.