Showing posts with label manicure. Show all posts

Christmas Rudolph Nails

I realized I haven't posted any reindeer Christmas nail design on my blog, but I'm pretty sure I did it already on my nails. I had some spare time and decided it was time to do it now. The holidays are here. I call it Rudolf inspired because of the red nose. Red, gold and green is just a classic and my favorite Christmas combination. 

Snowflake Sparkle Nails

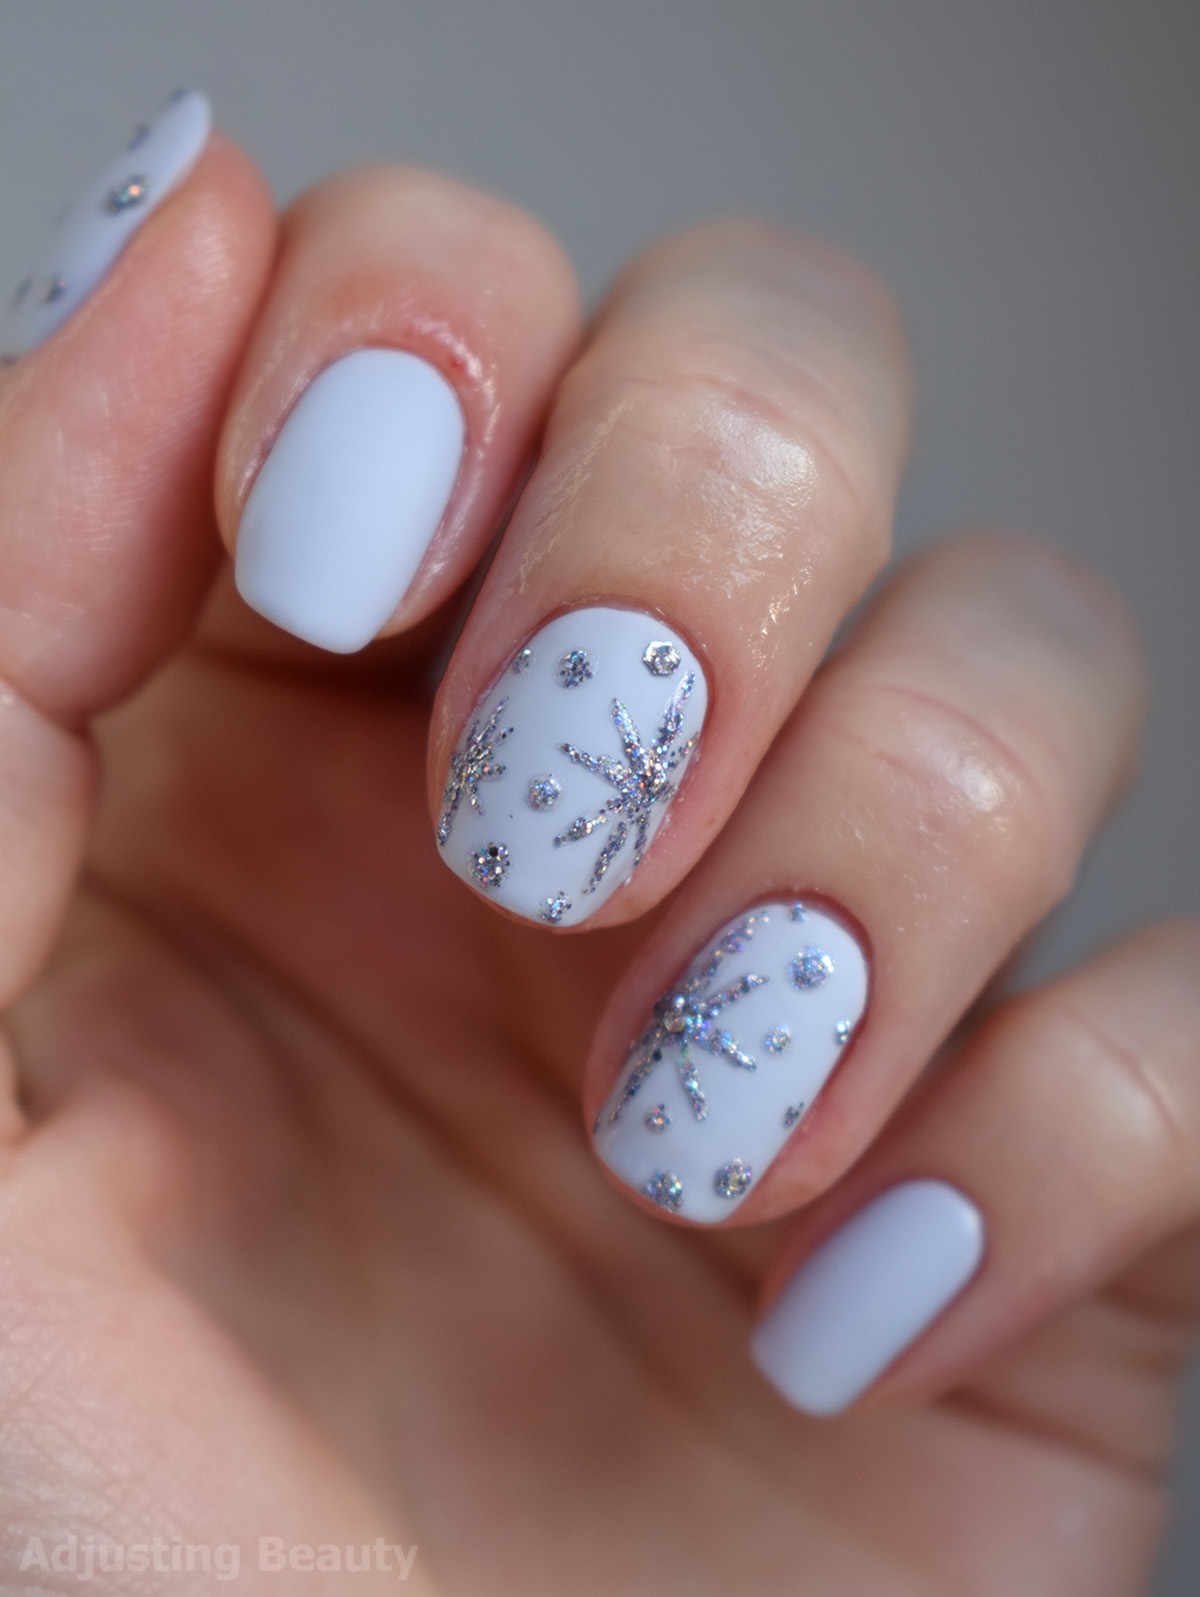
I believe, I didn't make any snowflake manicure on my blog yet. There's a first time for everything. Searching for some inspiration on Pinterest, I noticed that snowflakes are the most popular design for winter. I decided to make pastel blue and silver version. Making the base color matte also made a huge difference in this design looking even more sparkly to contrast glittery snowflakes. 

Fall Orange Nail Art (Collaboration with Katja Nail2express)

I finally got back to doing more nail designs. Part of the reason is also me going to nail courses, because it's another field that I want to better myself in. Today's nail art is in collaboration with Katja who writes Nail2express blog. Her blog is all about nails - nail art, nail polish reviews and some really useful nail tips. Definitely check it out, she will help you find inspiration for your next manicure. I personally admire her stamping nail designs, I've tried this once and gave up on it. It's harder than it seems.

Marble Nails

I've just been loving marble design on everything lately, especially paired with blushing pinks. My first attempt at marble nails was a disaster, so I looked up some of tutorials on YouTube. I used the same technique that Kristin Gardner showed in her tutorial. I think it definitely made it look the most realistic with the littlest of effort.

Kissy Nails

I once did lip design on my nails, but I never posted that manicure on the blog. So I decided to do this lip design again, but on nude base which I really enjoy these days. I got a lot of compliments on this manicure and everyone seemed to think I stamped it on, but it's actually a free hand design.

Christmas Stars Nails

I'm not doing a lot of nail designs lately, because my hands are just so dry, but I got an idea for cute Christmas inspired mani with yellow stars and red tips, so I decided to document and post it here. It's a simple almost that negative space manicure with must have red color and some yellow stars to pop out. I think it looks cute and a slight upgrade from basic red nails with glitters.


I started doing this manicure by leaving my base clean and just dabbing shimmery red nail polish on the tips of my nails using a sponge. For that I went over my natural tip line, because this manicure doesn't have any base color and I wanted to extend the design a bit.


I used transparent based nail polish with small golden glitter to give some sparkle to that clean base. Just little something something. 


I used small striping brush to draw on stars with a pale yellow nail polish. This might be tricky for some, so you can definitely just stamp stars on your nails, if you have any stamping plate with stars. Optionally, you can also just use stars stickers. I did it freehand and every star doesn't look perfect, but I think imperfection makes it look nicer. Then I used double sided dotting tool and dotted on a few smaller and bigger dots. But I decided that I won't go up to the base of the nail with those dots, not to overpower it. 


I used the same red nail polish again and intensified tips by applying another coat of nail polish with that same sponge technique. It gave me more of an ombre effect and almost covered my natural tips. 


I finished by applying a fast drying shiny top coat.


I also did my other non dominant hand, although it was a struggle. Less stars on my right hand and concentrating more on the dots, which are a lot easier to do, was a good solution. If you struggle with the other hand, just do dots or maybe ask someone else to do it. 


I was inspired by a lot of kawaii nail manicures that I find on Pinterest. Their nail designs usually look super cute and more minimalistic. I chose red color, because it symbolizes Christmas for me and I did yellow stars, because gold would look too plain and unnoticeable on my transparent base. Would you wear something like this or is it too cutesy for you?


Products used:
Avon True Colour Perfect Reds Nailwear Pro+ Nail Enamel - Ruby Slipper
Catrice Million Styles Effect Top Coat - 07 Unfold The Unlimited Gold
Avon Nailwear Pro+ Nail Enamel - Lemon Sugar
Seche Vite Dry Fast Top Coat

Unicorn Nails

I feel like unicorn has become the most abused mythical creature ever. In the past year the craze over unicorns escalated. I see unicorn cakes, slippers, makeup brushes, highlighters, hair colors and many more. If there's one thing I like about it, is the pastel rainbow colors. That's why I decided to create a manicure inspired by those colors, which are by the way perfect for spring season.


I started by applying white nail polish on all my nails except ring finger. On ring finger I applied a silver holographic shade with small shimmers.


After that I chose a variety of pastel shades that I could find in my stash and applied them on white base with a sponge. I used pastel lavender, blue, mint, peach, pink and yellow. This created perfect pastel rainbow colors to give the nails that magical unicorn land feel. 


Because holographic nail polish didn't stand out enough, I decided to apply some multi-colored glitter over it. It has silver base, but reflects multiple colors. I must have got it as a craft glue once, but I can't remember where it is from. It gave me that perfect stand out accent nail.


Because you can't have enough of the magic when it comes to unicorns, I took top coat with small multi-colored silver shimmer and applied it all over the pastel colored nails. It gives a bit of that extra touch.


Did you think I was finished here? Nope. I decided to take some old nail stickers and applied them on. It was mostly blue, purple and pink flowers and dotted pastel pink and purple hearts. It can't get any sweeter than this.


I finished with a fast drying and high shine top coat to make it sparkle and last longer.


It's kind of girly, springy and somewhat cute. I personally loved how it turned out. Accent nail looks amazing in the sun light and I am all about pastel colors.  How about you? Did you get tired of unicorns yet or are you all for it?


Products used:
Sally Hansen Complete Salon Manicure - 171 Bleach Babe
Maybelline Colorshow The Blushed Nudes - 447 Dusty Rose
Kiko Nail Lacquer - 507 Blush
Avon Nailwear Pro+ Nail Enamel - Lemon Sugar
Avon Gel Shine Nail Enamel - Rain Washed
Avon Gel Shine Nail Enamel - Mint To Be
Avon Gel Shine Nail Enamel - Lavender Sky
Essence Effects Nail Polish - 22 I Heart Magic
Catrice Luxury Lacquers LE Holomania - C01 Holo Manolo
Jofrika Cosmetics Glitter Powder (silver with multi-colors)
Seche Vite Dry Fast Top Coat

I Like You A Lot Nails

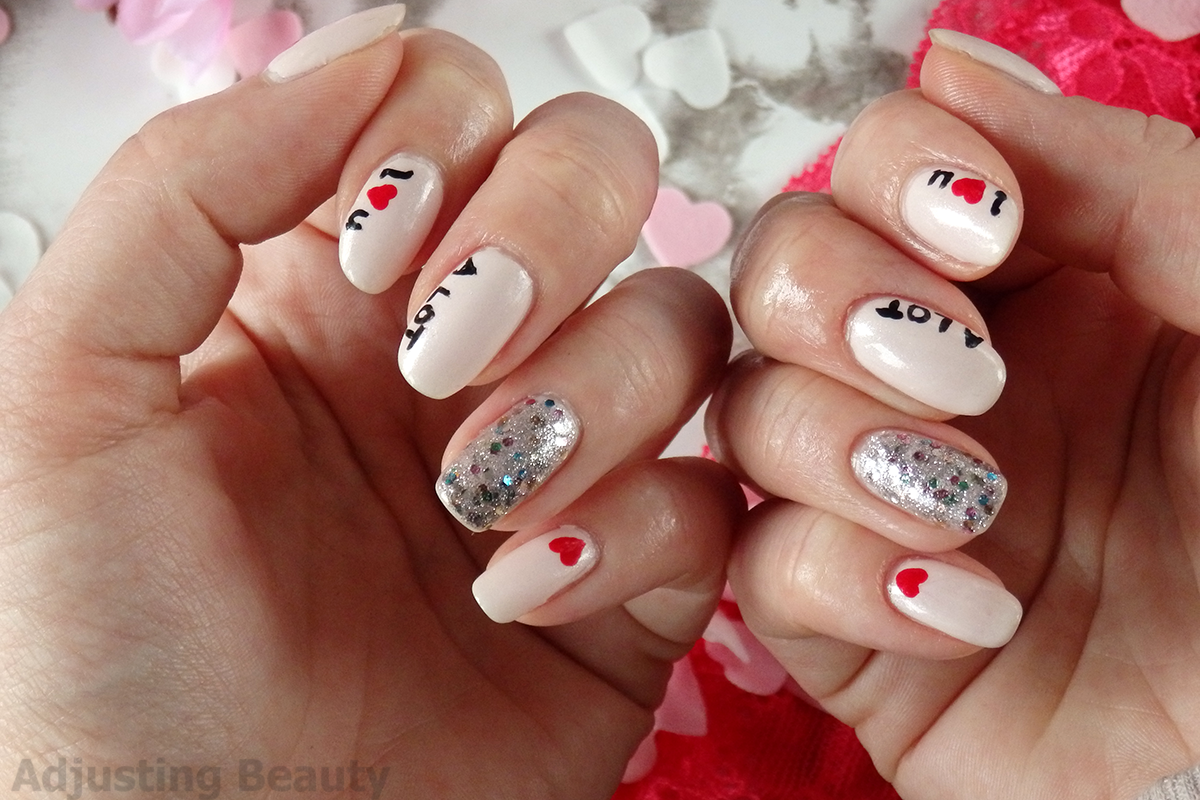
Here is a fun and fairly easy manicure that you can create for Valentine's Day. I was inspired by my pajama top which has a black heart on it with a writing I like you a lot. For me pinks and reds symbolize Valentine's and I wanted to make it still very wearable.


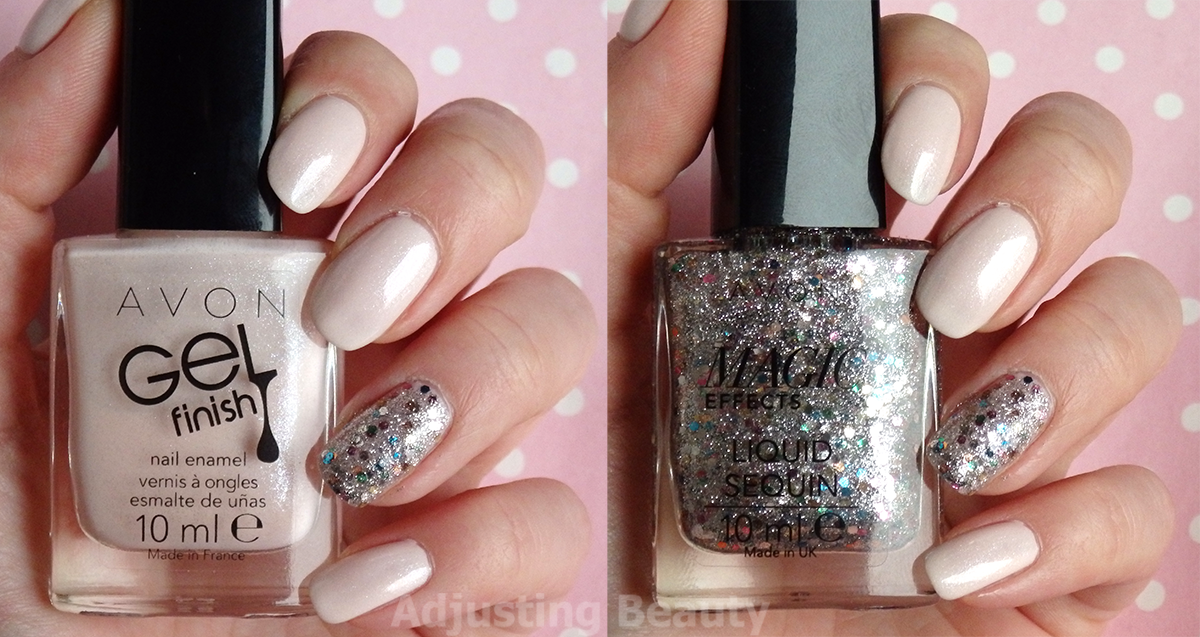
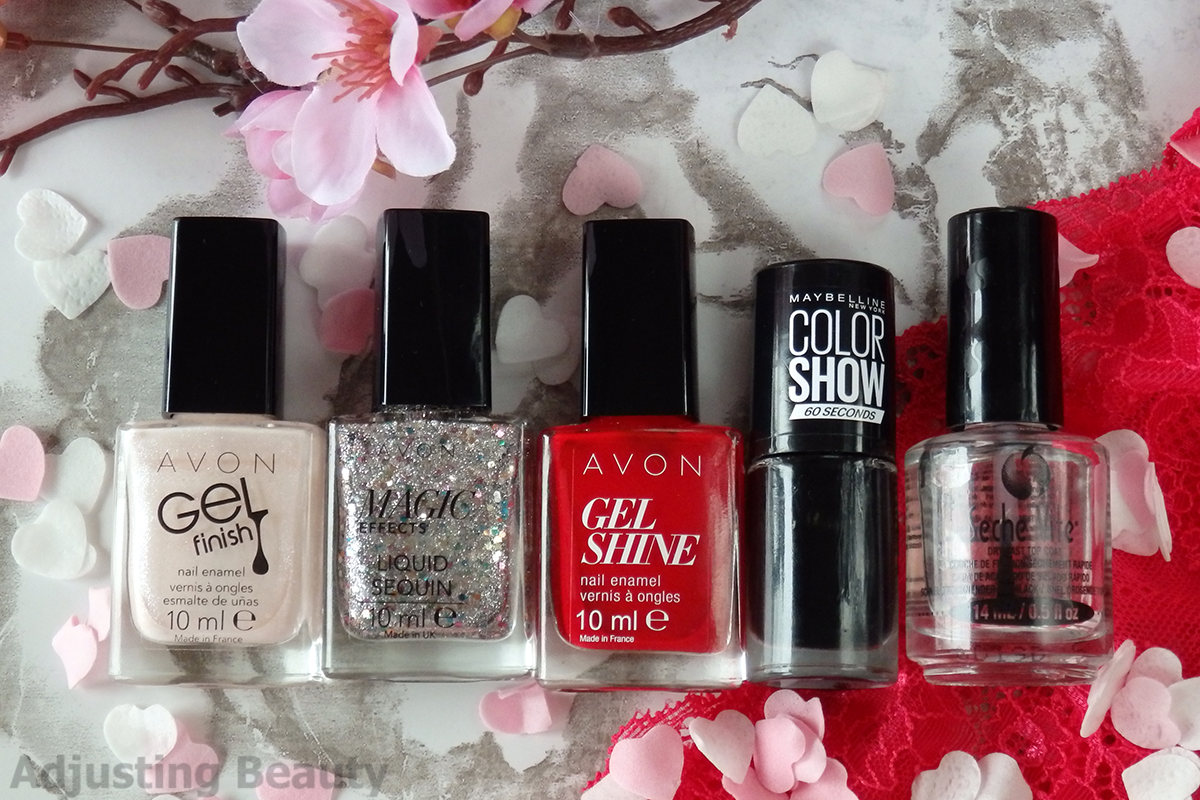
I always recommend using base nail polish before doing any manicure. It helps to protect your natural nails. After that I used Avon Gel Finish Nail Enamel in Sheer Shimmer on every nail except ring finger. There I used Avon Magic Effects Liquid Sequin Nail Enamel in Sequin. I wanted something glittery that would stand out against this very pale pink.


I used Avon Gel Finish Nail Enamel in Roses Are Red to create small hearts on thumb and pinky. I did hearts by using dotting tool. I just made two dots next to each other for heart top and then pulled it down into a V shape. 


For the writing I used Maybelline Color Show in 677 Blackout. I used thin brush and wrote I and U on index finger. In the middle I also drew small red heart. On the middle finger I wrote A LOT. After I let it dry a bit, I locked the design in with high shine top coat - Seche Vite. 


I am so into nudes these days that I had to create something natural with just a bit of details and some glitter on ring finger. I love combination of these shades. If you don't particularly like the writing or if you find it too difficult to do, you can just drew hearts on each nail. Maybe even alternate between red and black hearts.


You can also check out my last year's Cute Matte Valentine's Day Nails.

Christmas Sparkle Nails

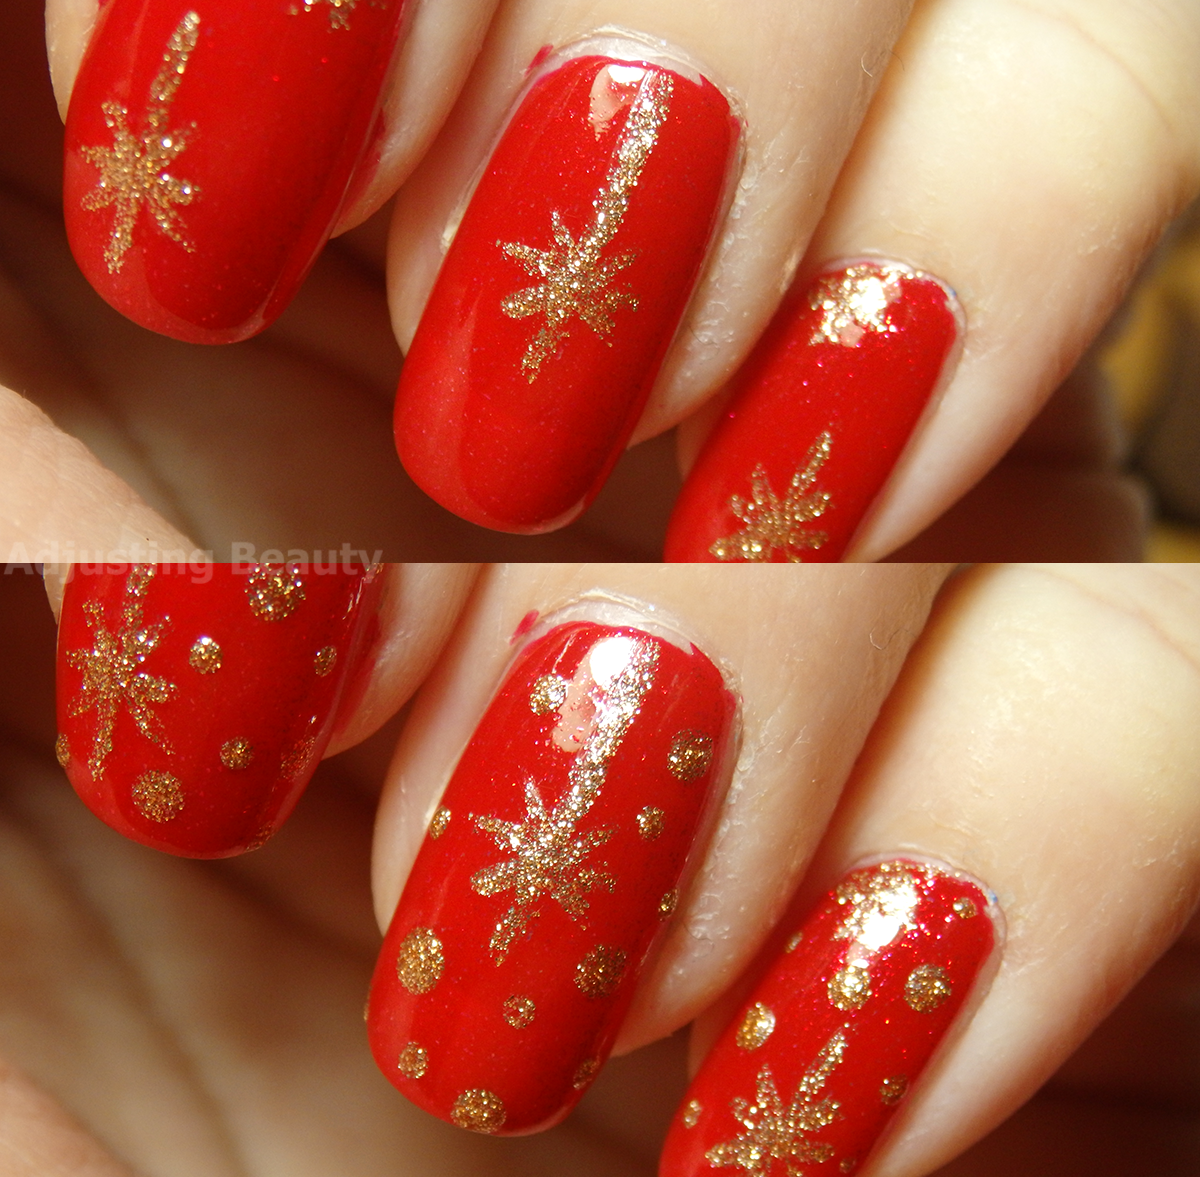
This year's Christmas nails are again my favorite Christmas color combination. It's sparkly red and gold. It represents Christmas lights that sparkle on the tree, but on a red base. This time of year it's all about sparkles and I think it looks minimal, but still kind of cute.


I used a base coat and then I applied Avon True Colour Perfect Reds Nailwear Pro+ in Ruby Slipper. A gorgeous red with red and gold shimmer.


Then I took a thin brush and drew on kind of sparkles, which are essentially snowflake shapes with one longer line. After that I used dotting tool and alternated between small and big dots for some added sparkle.


For this I used shimmery gold nail polish, Avon Magic Effects Molten Metal in Copper.


I finished with a fast drying and super shiny top coat, Seche Vite Dry Fast Top Coat. It almost looks like a wrapping paper design. I kind of like it. It's nothing too bold, but it definitely adds the needed sparkle.


Merry Christmas to you all and may you have lovely holidays filled with sparkles.

Rosy Marble Nails

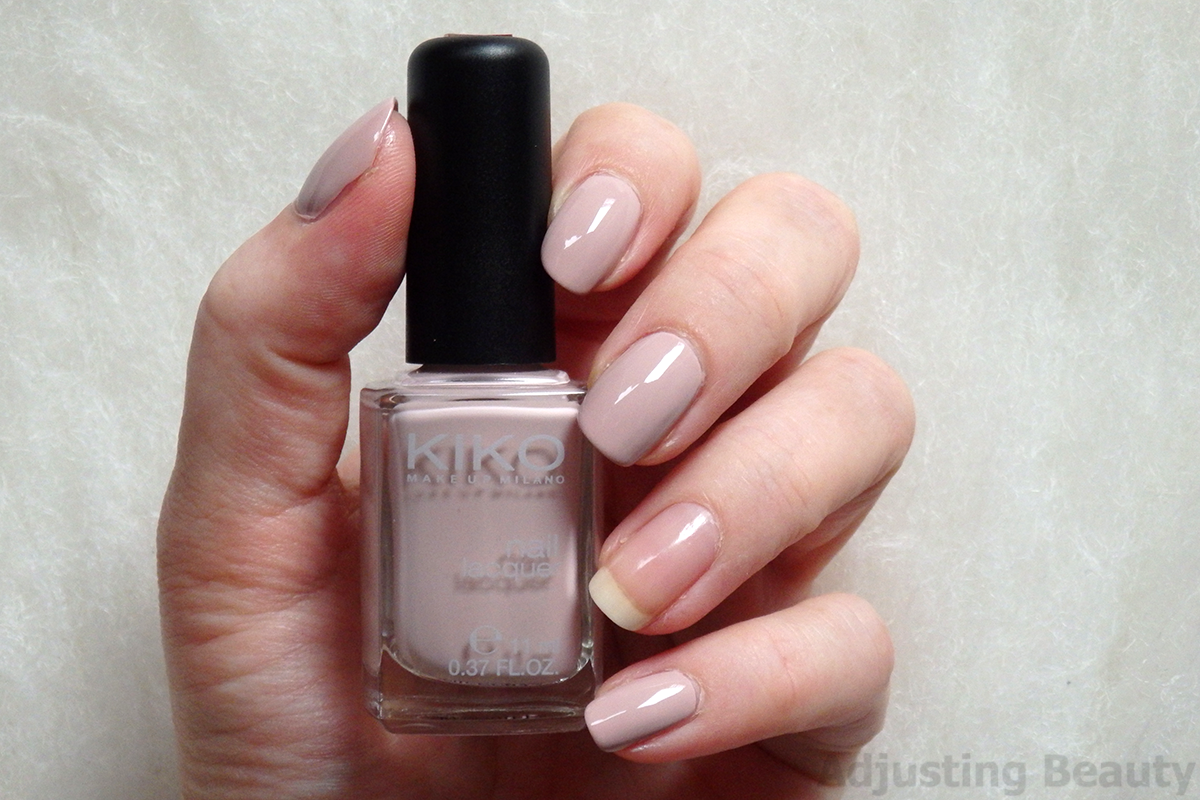
Recently, I've been seeing marble nails every where. It looked really pretty and easy enough to do. However, you know me, I am not a fan of cool colors and typical white grey marble looked too boring for me, so I decided to make it more rosy and warmer.


Firstly, I applied a base coat. Then I used rosy nude nail polish on all the nails except ring finger - Kiko Nail Lacquer in 372 Nude. 


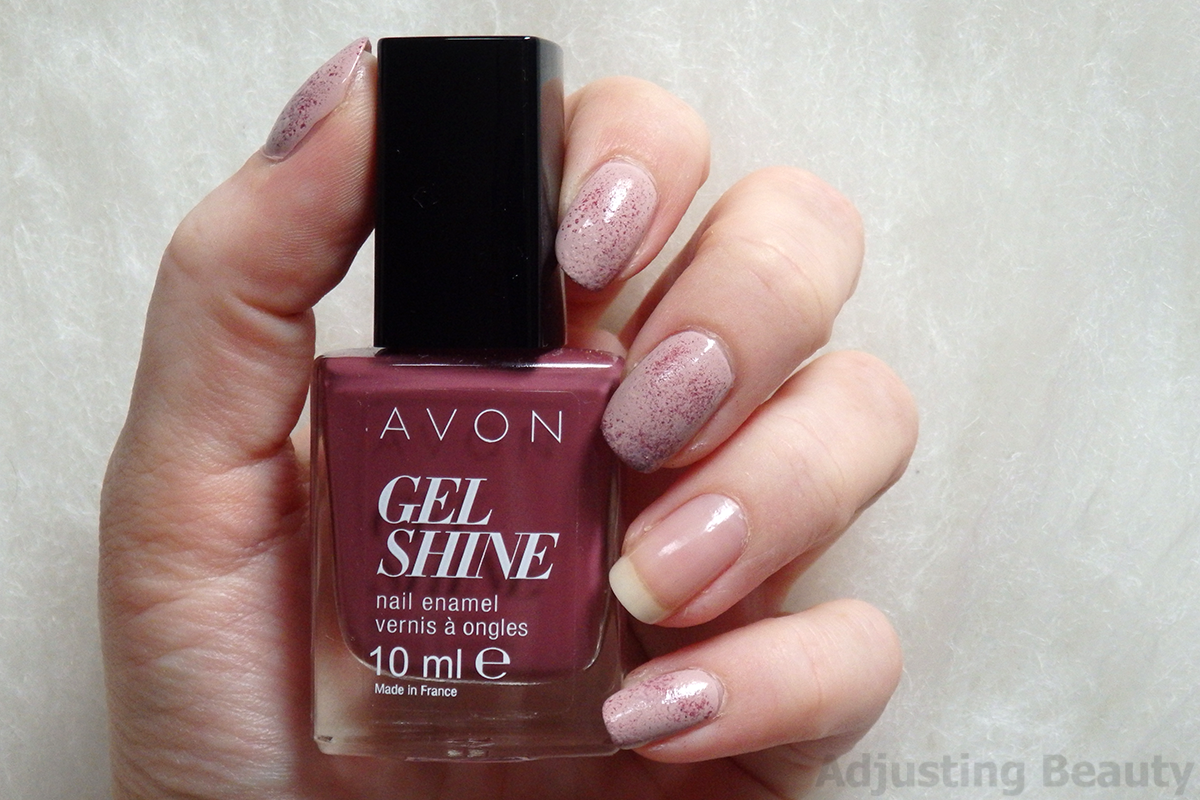
I took a piece of sponge and applied darker mauve nail polish in random areas - Avon Nail Enamel in Mauvelous. If you take a more dense sponge, it will look more uniformed. Unfortunately, I had one with bigger holes and it didn't come out as I anticipated it to.


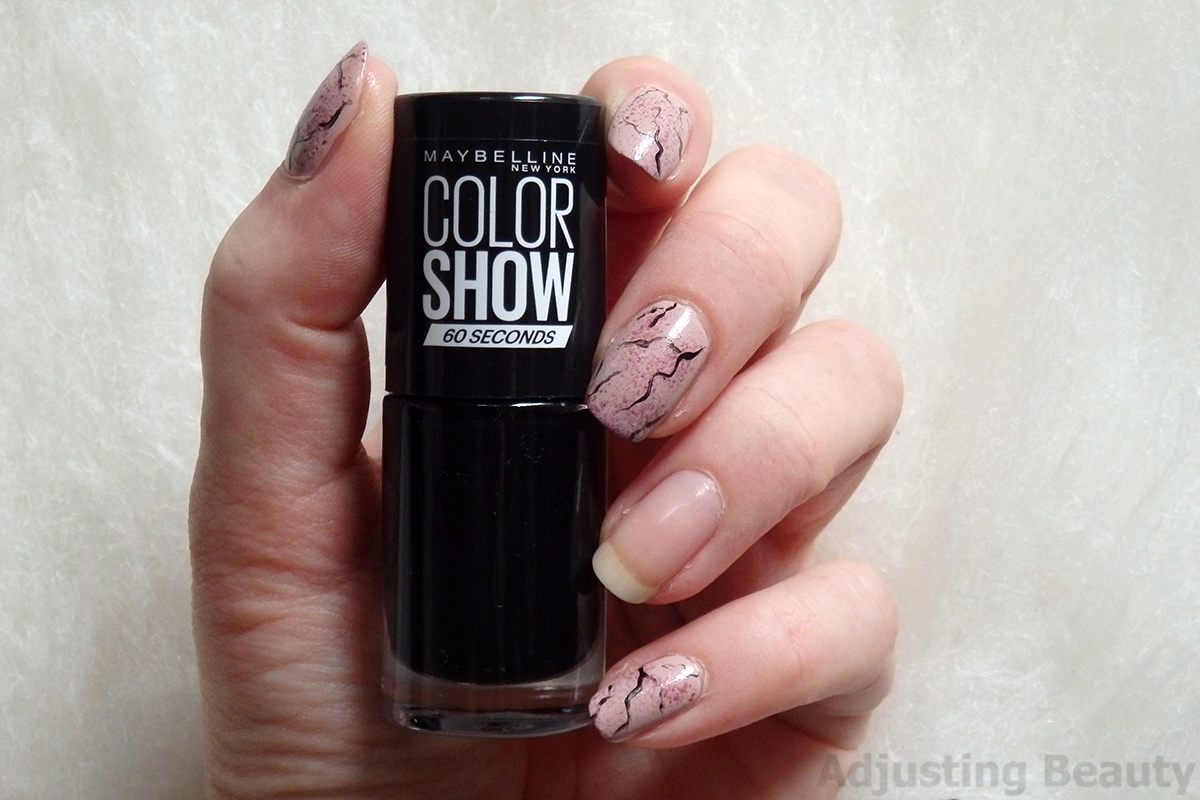
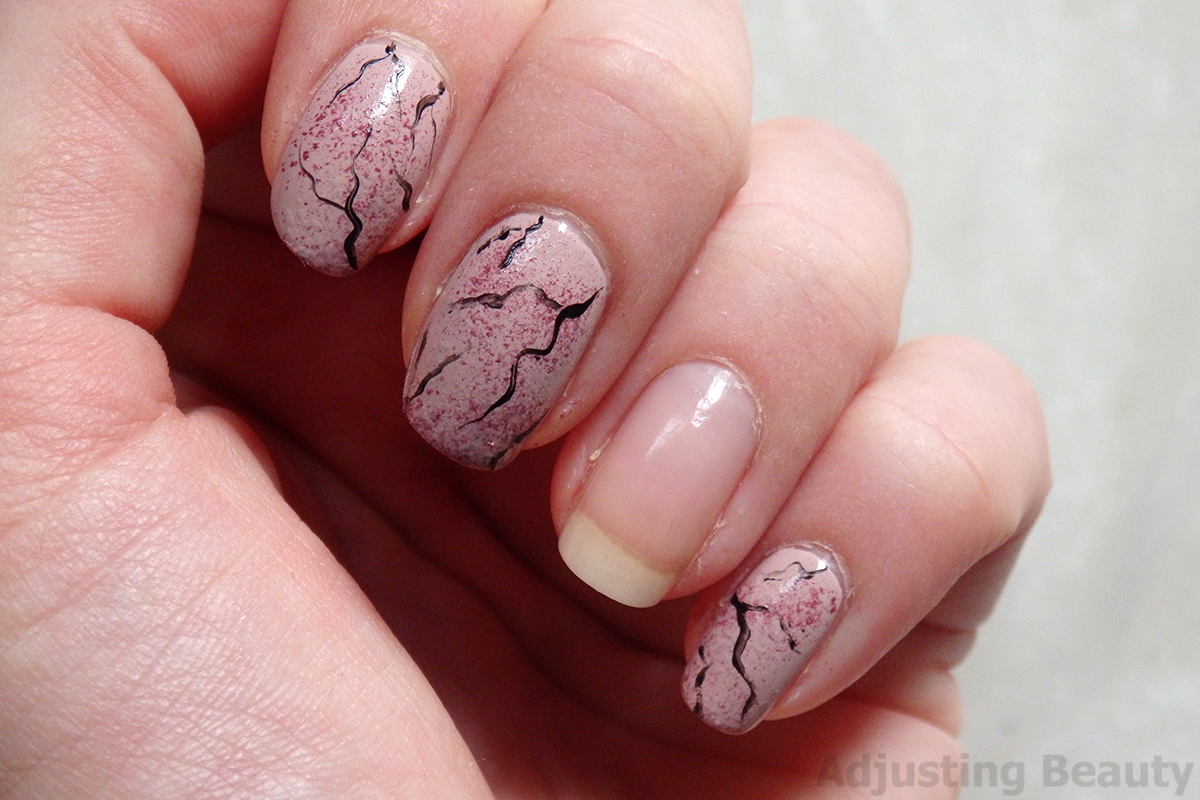
For the marble cracks and pattern  I used black nails polish - Maybelline Color Show 677 Blackout. If you want it to be more subtle and more monochromatic, I'd say use a dark grey instead of black. With the help of nail striping brushes I drew wavy lines. It should look thicker on some parts and thinner on others. I think that you can be a bit messy here. It doesn't need to be perfect.  


Then I took gold metallic nail polishes - Essence LE Lights of Orient Nail Polish in 01 Golden Gate To Orient and went over these black lines with it. I tried to make black lines thinner. Gold lines give it a bit more dimension and some sparkle. I also applied it all over the ring finger. 


I added a diamond shaped golden stud on the ring finger just to add something something. Marble usually has a high shine and I created this by using shiny top coat - Seche Vite Dry Fast Top Coat. All finished! How do you like marble nails?